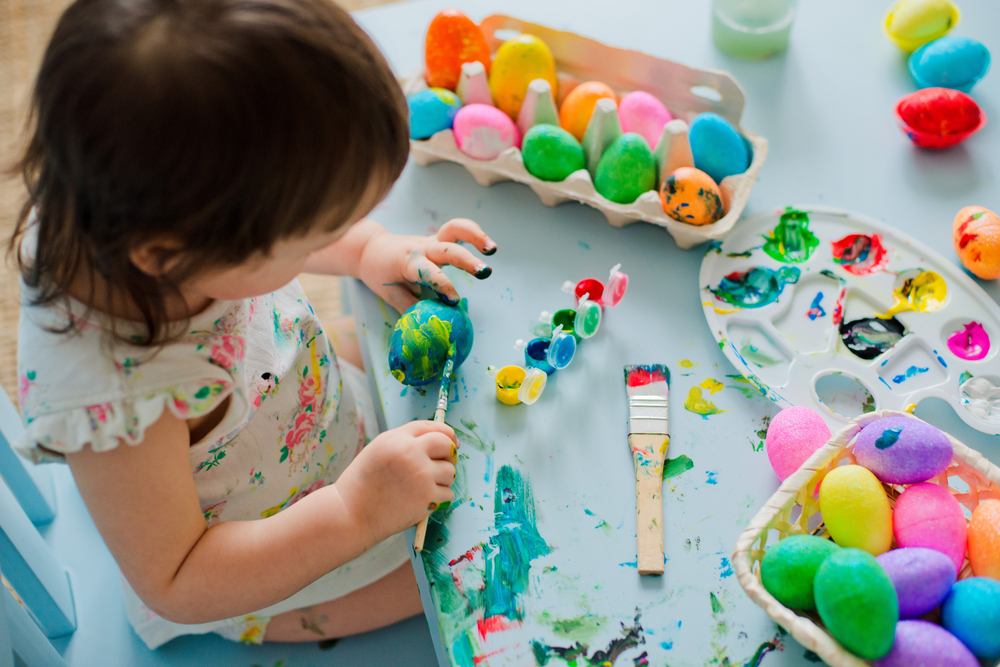
 Whether you are like me and simply don’t remember to grab Easter egg dye, or you want to do something a little different with your eggs this holiday, here are a few cute ways to decorate eggs using items you already have around the house. (You can thank me later.)
I may not have remembered to pick up the special dye, but I do have veggies, rubber bands, crayons, temporary tattoos, and tempera paints on hand, which are all great things you can use for Easter egg decorating.
The best part? Using natural ingredients or random items found at home to dye eggs adds an entirely new level of fun to egg dyeing. (Just don’t forget to hardboil the eggs, first!)
How to Dye Easter Eggs Using Natural Ingredients
To dye your eggs using ingredients you have at home, use one of the below ingredients for each color. Add the following amount for each cup of water you use.
Ingredients:
- Lavender or red: 1 cup red onion skins
- Orange: 1 cup yellow onion skins
- Pink:1 cup shredded beets
- Yellow: 2 tablespoons ground turmeric
- Light blue: 1 cup chopped purple cabbage
- Dark blue: 2 cups blueberries
- White vinegar as needed
- Hard-boiled eggs
Instructions:
- Fill a saucepan with the amount of water you need. (One cup will color approximately 3 eggs.)
- Add the vegetable scraps for the color dye you are making (turmeric, beets, etc.), and bring the water to a boil.
- Turn the heat down to low and simmer, covered, for 15 to 30 minutes or until the dye is a few shades darker than the final color you want your eggs to be.
- Remove the pan from heat and let cool.
- Pour the dye through a fine-mesh strainer into a bowl.
- Stir in one tablespoon of white vinegar per cup of liquid.
- Arrange hard-boiled, room-temperature eggs in a single layer in a baking dish or other container and pour the cooled dye over them. Make sure the eggs are completely submerged.
- Transfer the eggs in the dye to the refrigerator and chill for approximately 30 minutes or until the desired color is reached.
- Carefully dry the eggs. If you’d like a more vibrant color, soak the eggs again, then dry. Repeat until they are the color you want.

Other Fun Things to Try
Before you color your eggs, decorate them with a white wax crayon — when you dye the egg, the crayon will resist the dye, leaving your design behind.
Use rubber bands wrapped around your eggs before dying for a fun, striped effect.
Kwik Stix Tempera Paint Sticks (available at Villa Villekulla Toys) are a great alternative for kids (or moms) who may not have the patience for dying projects. Painting an egg is much faster, and these will dry in 90 seconds!
Temporary tattoos also make awesome egg decor — just put them on the same way you’d put it on your skin, and have a professional-looking decorated egg without any mess. You can do this on eggs that have been dyed, or skip the dye altogether! Simply remove the plastic sheet from your temporary tattoo, place it face-down on the egg, and blot with a damp paper towel or sponge for about 30 seconds. Peel back a corner to make sure the design stuck, then remove the entire paper backing. Voila, a decorated egg in under a minute!

If all else fails, try the shaving cream and food coloring egg-dyeing trick for some cool psychedelic color swirls! Check out the easy how-to here.
Pro Tip: For a photo finish, whether you are using pre-made Easter egg dye or natural dyes, you can really take your eggs up a notch by buffing them with a small amount of cooking oil after they have dried!
What Easter egg decorating tips do you have?


