


Looking to get crafty this holiday? Look no further, as we’ve got two fun and easy projects for you — one adds some festive flair to your front stoop, while the other adds a bit of holiday glam indoors. Bonus: Both you can do right in the comfort of your own home!
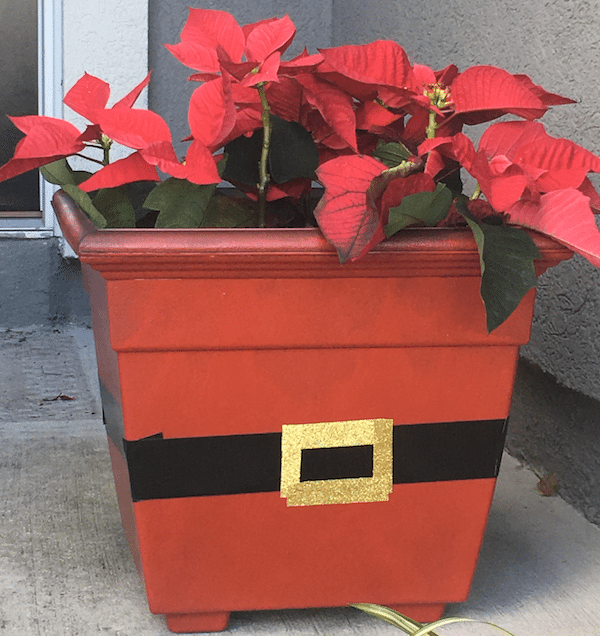
Santa Claus Planter
Picture this: You have sorted through storage for your lights and holiday decorations. As you complete your outside décor, you finally put your poinsettias out for display. But why not this year add a little flair to your floral collection?


I found the planters from the local Dollar General for 50% off at $4 each at the end of the summer. I used one for a year-long display on my porch, and the other two for this Christmas holiday project, but you can use any planter on hand.
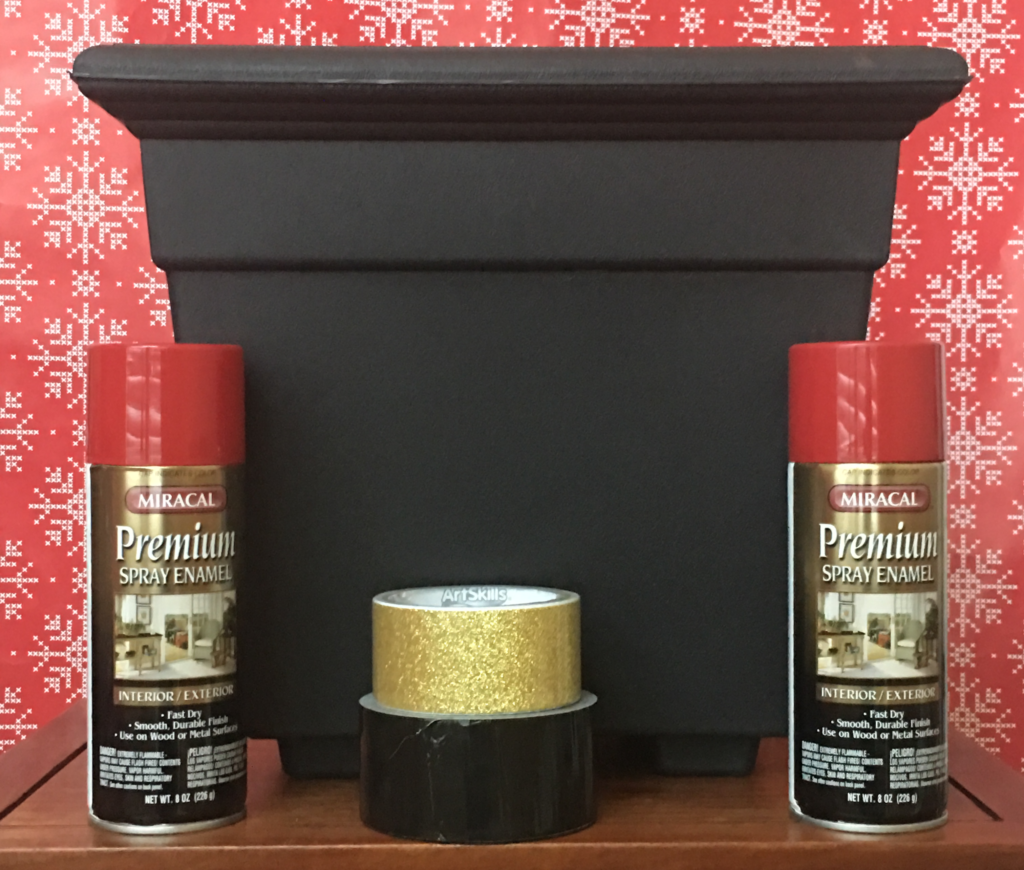
Materials Needed
Red spray paint
Glitter craft tape
Black duct tape
Plant container
Poinsettias
DIY Instructions
Here’s the fun part — spray away (just be sure to do this part outside and put some plastic or newspaper down). Paint the outside and the top of the container. Since I am putting a plant inside, I did not paint the inside of the container.
Once the container dries, add your black duct tape for the Santa belt. Cut and size your Santa belt according to the size of the container. Tape the middle of the container and wrap around, adding a glitter-tape square for the buckle. Lastly, you can place your poinsettias inside the planter and show off your front door.
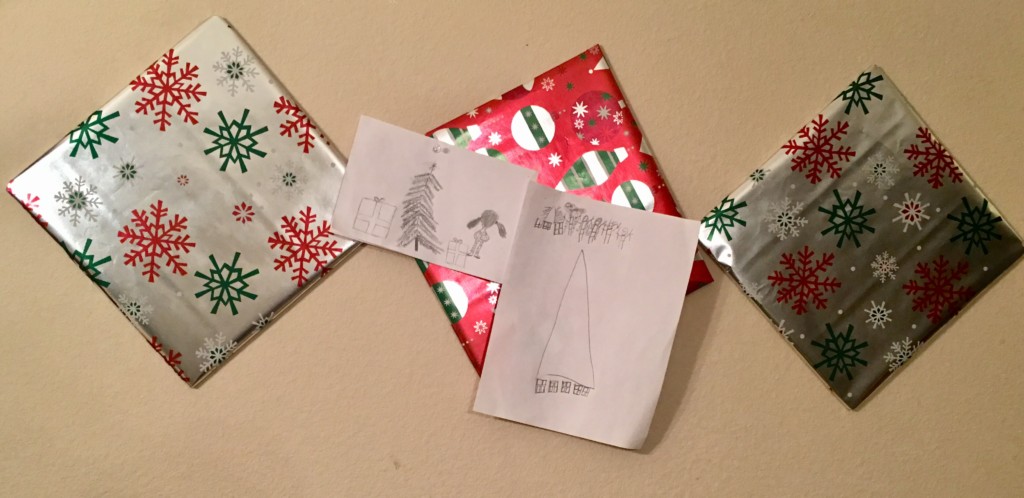
Holiday Wall Décor
It’s time to wrap the kids’ presents, and you want to up your Do-It-Yourself creativity this holiday season. Plus, the kids keep bringing home more crafts projects and paper ornaments, and you don’t know where to put them. These festive wall mounts will serve as the perfect backdrop!
Materials Needed
Wrapping paper
Command picture frame strips
Tape
Scissors
Foam boards
Paper cutter (optional)


DIY Instructions
First, cut the foam square down to 12″ x 12″ using a box cutter or a sharp pair of scissors. Next, cut the wrapping paper using the grid on the back. (By the way: Grids on wrapping paper are GENIUS.) Next, tape the back of the foam board to secure, and place the hanging strips on the back of the foam. Once you peel your strips on the back, place them in a diagonal on the wall.
I decided to use two patterns for my display, but feel free to use whatever wrapping paper color and patterns you love. Happy holidays, and peace, love and DIY!
 About the Author
Whitey Bell is a DIY lover and blogger of Crafty Alane, a website showcasing Do-It-Yourself projects, crafts, home décor, mommy thoughts and more, while offering video tutorials with each of her posts. She is a wife of 11 years to her wonderful husband and fabulous children. When she is not blogging, she is participating in projects at the kids schools or organizing a family function. Crafty Alane was created to showcase all the many projects that come up for the house, the kids, school, and life in general. She first started crafting to learn the basics of how to be organized, take care of kids, learn to sew, learn how to do hair and some of the millions things parents must learn when having kids. She had to Do-It-Herself literally, and from there, her survival became a passion.


