 I know, I know. SLIME?! Every mom’s worst nightmare. No, really. I have actual nightmares about the messes I know I’m going to have to clean. But it’s summer break, my husband and I both work, it makes my kid happy, and I’m in survival mode. Slime for the win! (Or something like that.)
READ: School’s Out… What Do I Do With My Kid All Summer? Woes From a Working Mom
I know pretty much every child goes through a slime phase these days, but my daughter is exceptionally obsessed. She wakes up wanting to watch slime videos and look up slime recipes, she experiments with every ingredient and random thing (i.e. the inside of her baby sister’s [clean] diapers?) around the house, and fills all of my Tupperware containers with her creations daily. I gotta give it to her, though. She’s really dang good at it! It’s honestly a pretty cool science experiment and makes for a fun sensory toy that entertains her for days. Also, I had no idea you could do so much with slime. If your kids are home for summer break and need something fun to try to master over the next several weeks, Daisy has the answer. But you don’t want to hear me talk about it! I asked my daughter a few questions about slime and to share her favorite slime recipes, so without further ado, I’m letting her take over! (…ish. I’m doing the typing, she’s doing the talking.)
Welcome to Slime Time with Daisy!
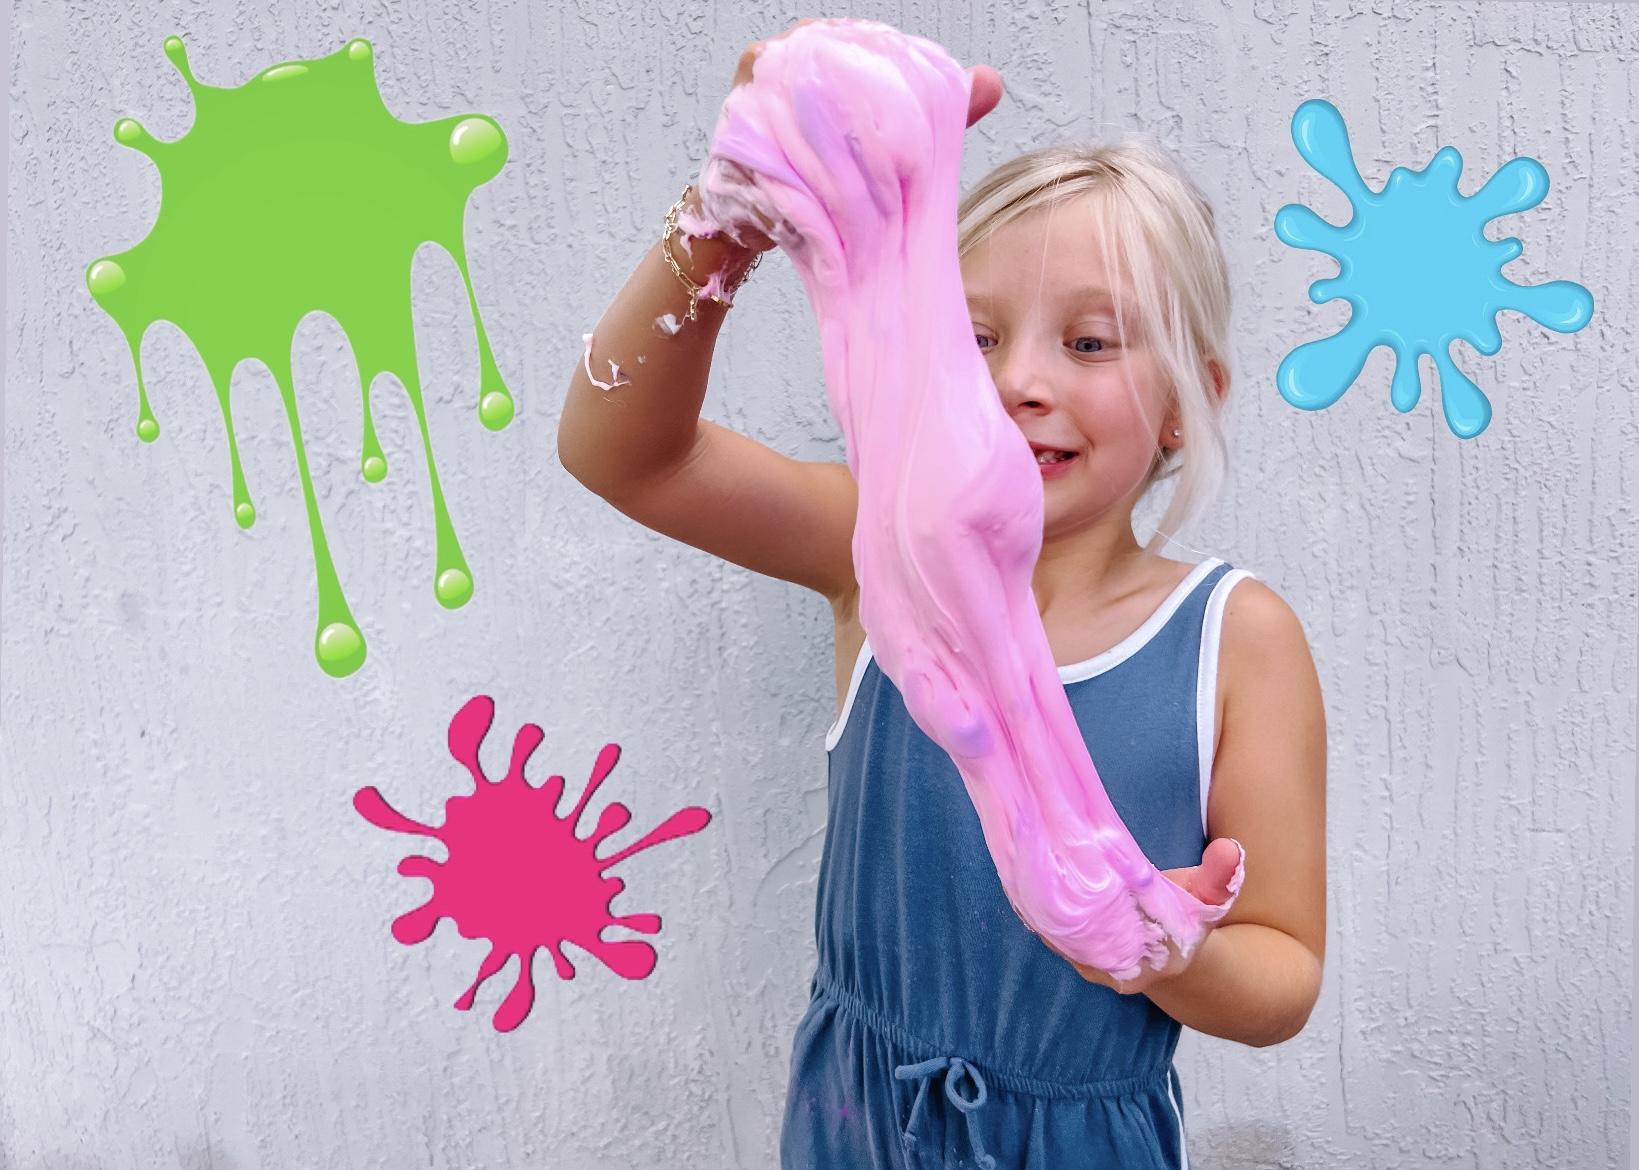
Slime is stretchy and fun, and it’s like a soothing sensory toy. And you get to use your brain. Making it is like an experiment!
Your first slime recipe should be a basic one: Glue, contact lens solution, and either baking soda or shaving cream.
Glue makes it stretchy and stickier — it’s the main ingredient. As much glue you use is how much slime you’ll get. If you want it to be a little stickier, add more glue. Shaving cream makes it fluffy and expand, but it will deflate. Just because the shaving cream deflates. I don’t know why else. Contact solution or Tide or baking soda or whatever activator you use helps it form, which means it comes together in clumps — which is how it turns into slime.
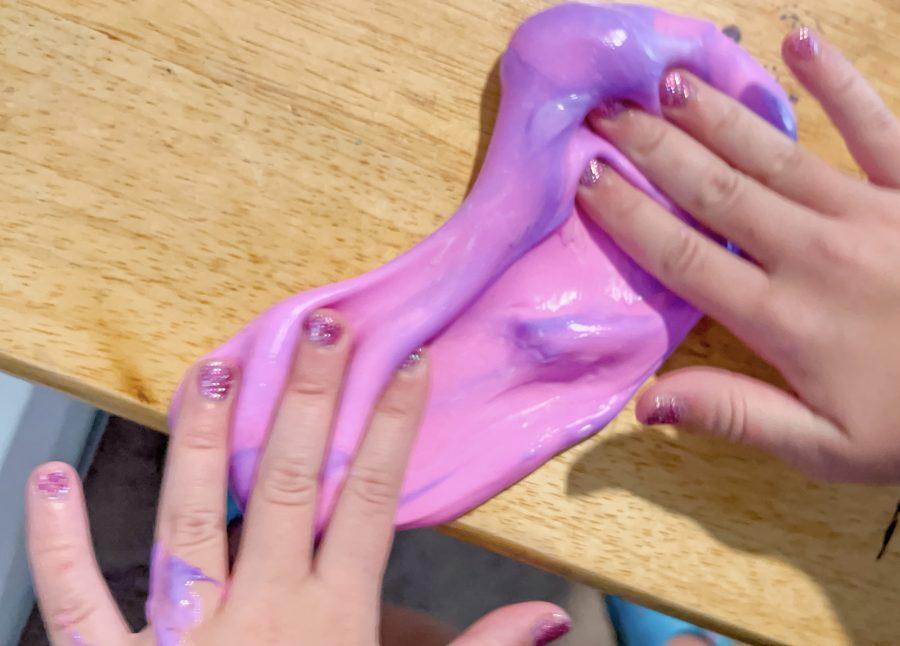
To make it fun, you can add things like slushy beads, little flakes or sprinkles that are made for slime, or you could add foam beads. I think they’re also made for slime. And scents, and food coloring. Oh! And different powders like chrome powder to make it metallic, thermochromic powders to make it change colors which is super cool and my favorite, or glow-in-the-dark powder which I really like a lot, too. I just got it in the mail, and I love it. It’s super fun.
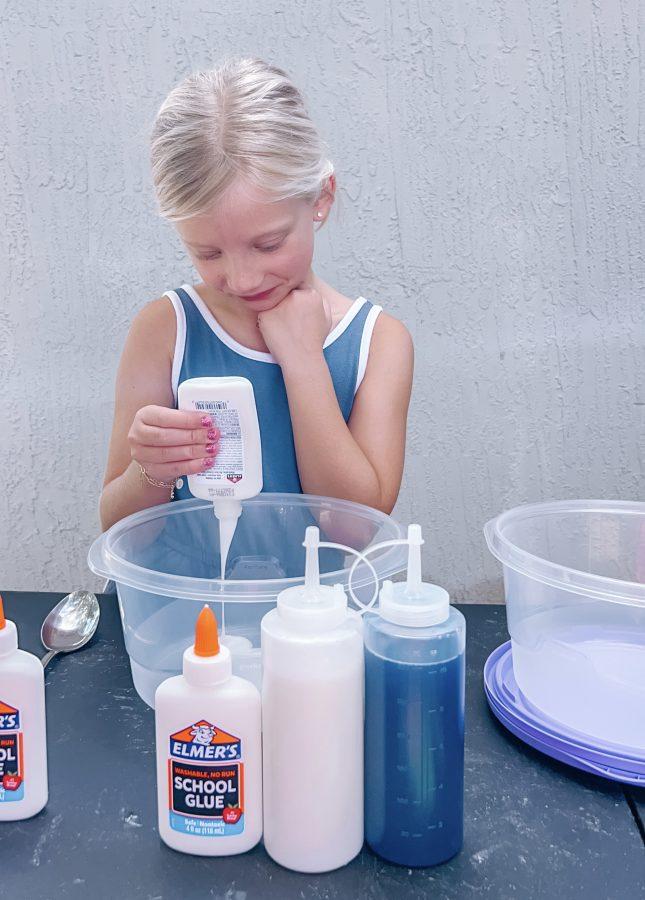
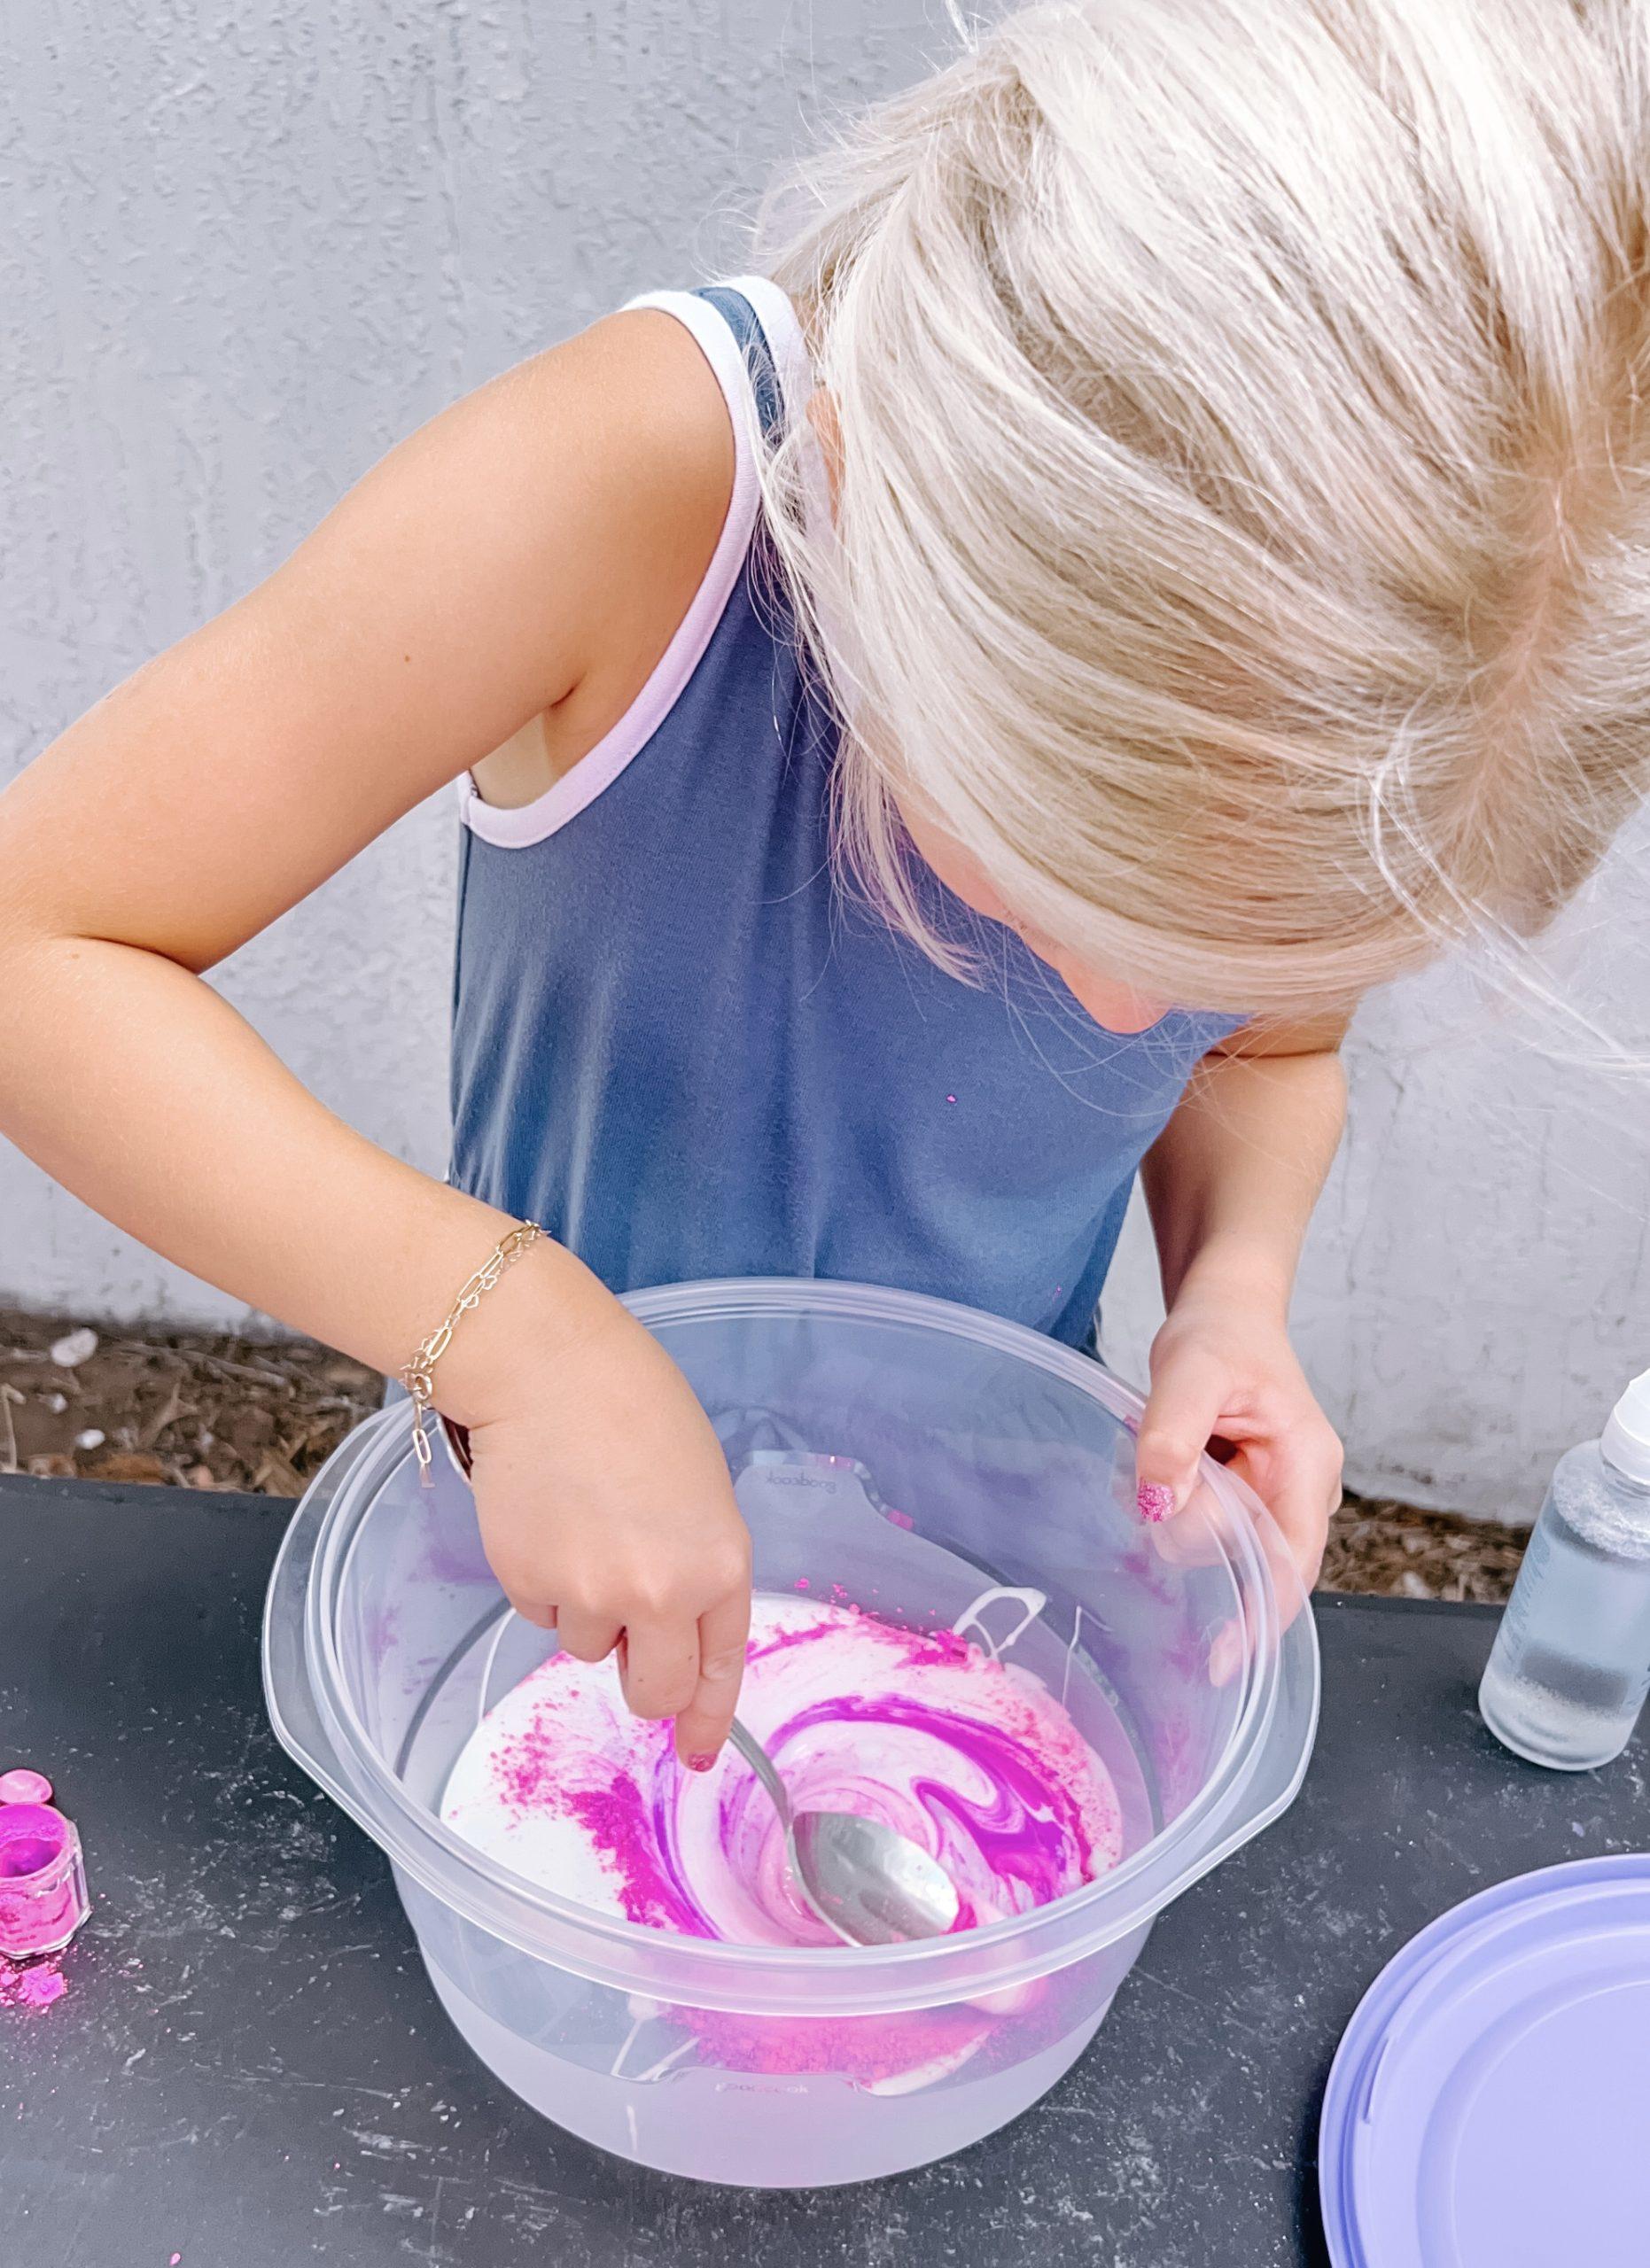
If parents don’t want their kids to make slime because it’s messy… my mom also thinks it’s too messy and she also doesn’t want me making it in her house, but she lets me anyway. But I make it outside a lot, too. It’s easy to clean — just soap and water, Clorox wipes, anything like that. But my mom always helps me clean it up.
READ: Simplifying Science With Fun At-Home Experiments
I don’t really have exact measurements for my slime because I usually just add more of what I think it needs, but here are my three favorite slime recipes!
Basic DIY Slime
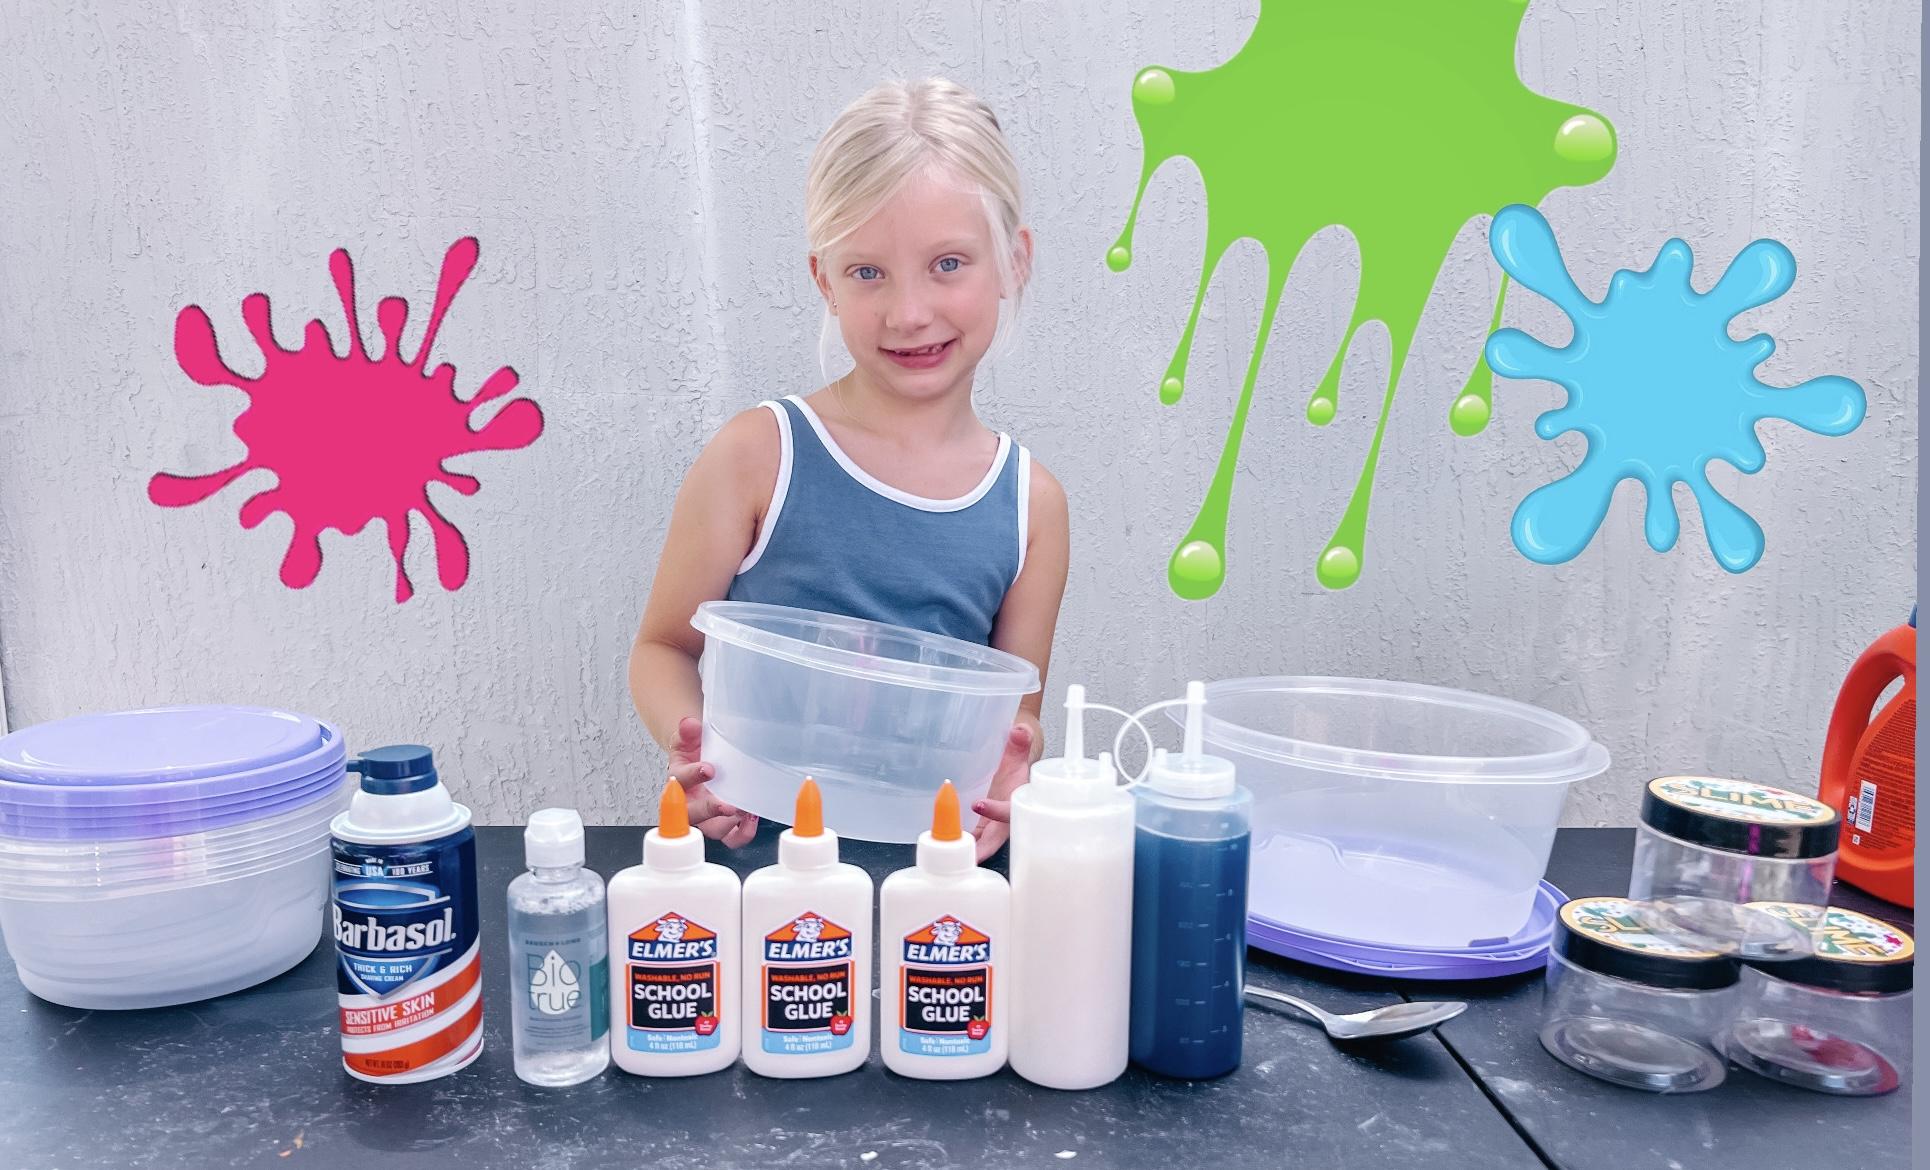
Ingredients:
- White Elmer’s glue (Just one regular bottle. Clear works too, but white works best. This is the base of your slime and what makes it sticky.)
- Contact lens solution (Biotrue works best because it has an ingredient in it that makes the perfect activator.)
- Baking soda (It helps fluff it up a little.)
Directions:
1. Dump the bottle of glue into a bowl. My mom doesn’t like when I use her nice bowls, so she got me my own. You might want to ask your mom or dad to do that, too.
2. Add a few drops of food coloring if you want it to be a color and stir that into the glue.
3. Add a pinch of baking soda and stir it into the glue.
4. Squeeze contact solution into the glue, one squirt at a time, and start mixing. My mom says about a teaspoon. You’ll see it start clumping together. Keep stirring. If it’s still too runny, add another squeeze.
5. Keep adding a little contact solution at a time and another pinch of baking soda, until it starts to be too hard to stir with a spoon. This means it’s ready and time to knead it — my favorite part!
6. Start kneading it with your hands until it’s a big lump of slime, and you’re done! If you want it stickier, you can add more glue.
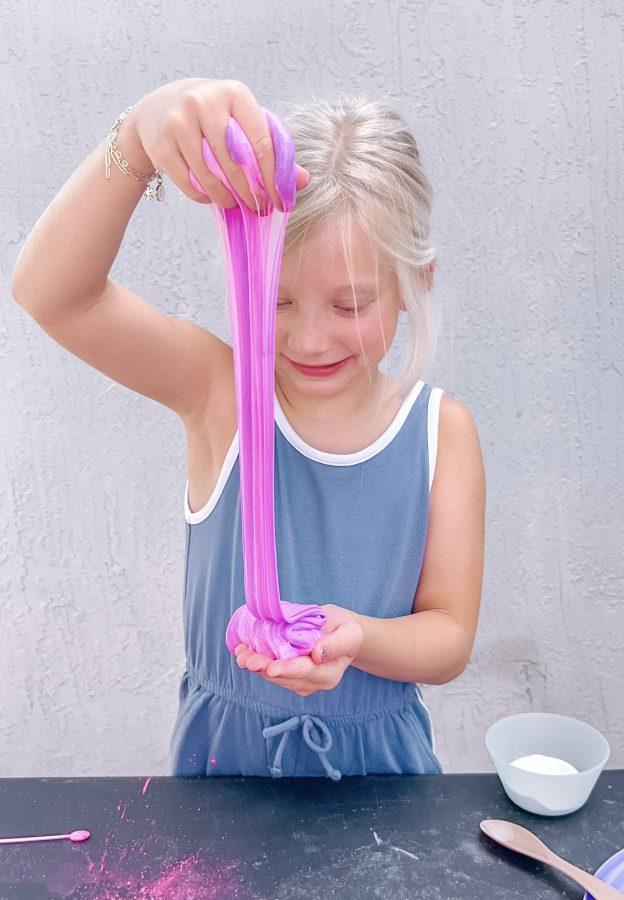
Fluffy Slime
This is my favorite slime recipe.
Ingredients:
- White Elmer’s glue
- Contact lens solution
- Foamy shaving cream (The kind that comes in the can.)
Directions:
1. Do the same steps as 1 and 2 from the Basic Slime.
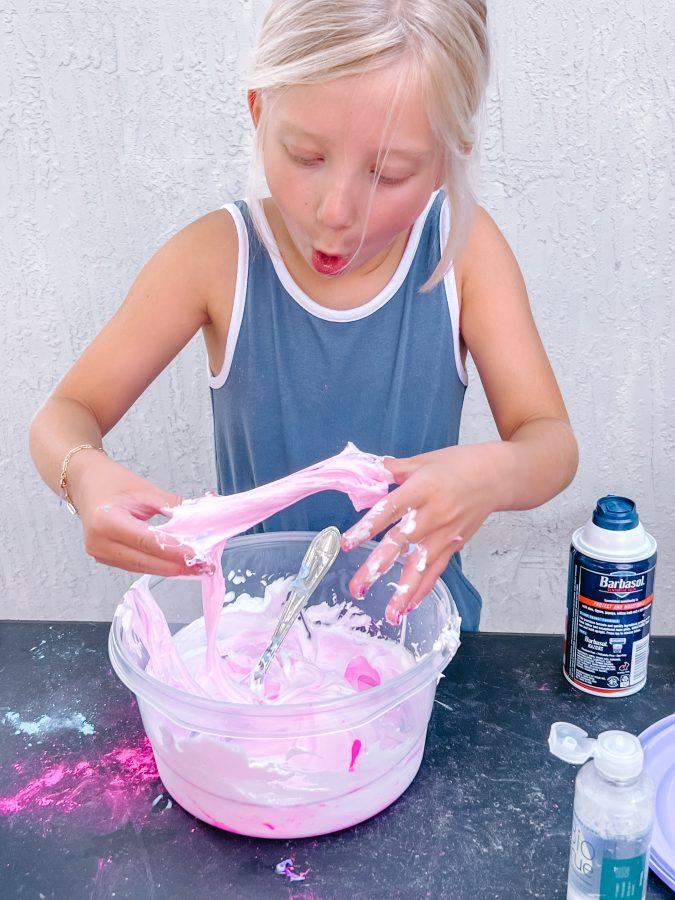
2. Squeeze in the shaving cream. The more you add, the fluffier it’ll be! I usually count to 4 our 5 while I’m squirting it in, and that’s usually pretty good. Mix it in with your glue (but don’t stir super hard because it will make it less fluffy).
3. Do the contact solution the same as the Basic Slime. Squeeze contact solution into the glue, one squirt at a time, and start mixing. My mom says about a teaspoon. You’ll see it start clumping together. Keep stirring. If it’s still too runny, add another squeeze.
5. Keep adding a little contact solution at a time and another pinch of baking soda, until it starts to be too hard to stir with a spoon.
6. Start kneading it with your hands until it’s a big lump of slime and you’re done! If you want it stickier, you can add more glue.
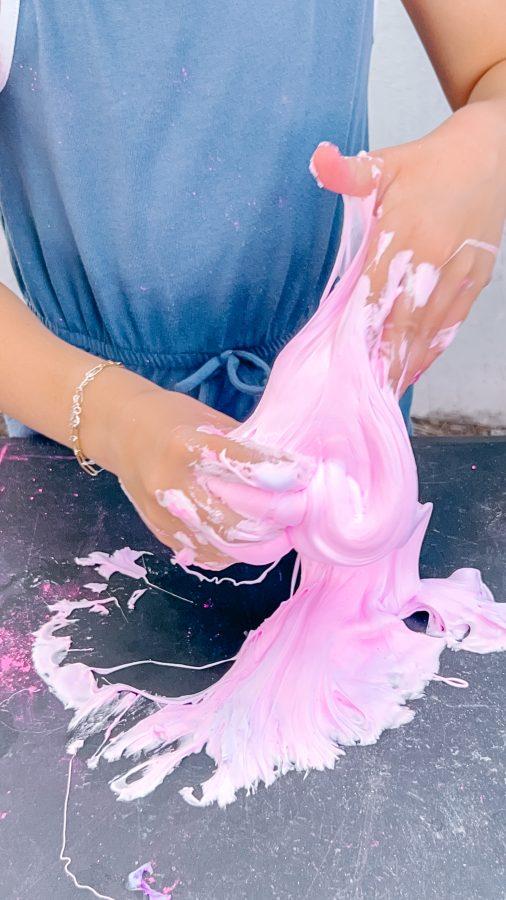
Old School Slime
We call it this because my mom says she remembers making some kind of slime with laundry detergent, so we made a version, too.
Ingredients:
- White Elmer’s glue
- Tide laundry detergent
- Liquid fabric softener
- Foamy shaving cream (if you want it fluffy)
Directions:
1. You basically make it the same as the Basic Slime, but this time you use the Tide as the activator instead of contact solution.
2. Add the glue and food coloring (if you want it colored). Add about 2 tablespoons of the liquid fabric softer and stir.
3. If you want it fluffy, add the shaving cream now.
4. Then add the Tide. I start with about two tablespoon fulls at a time and mix, and then keep adding by the spoonful until it starts to come together. It ends up being about 1/4 cup, but I like to add it by the spoonful because sometimes I don’t need as much. That’s why it’s like a science experiment! You just keep adding things until it becomes how how you like it.
5. When it starts to clump, that’s when you knead it and start to play!
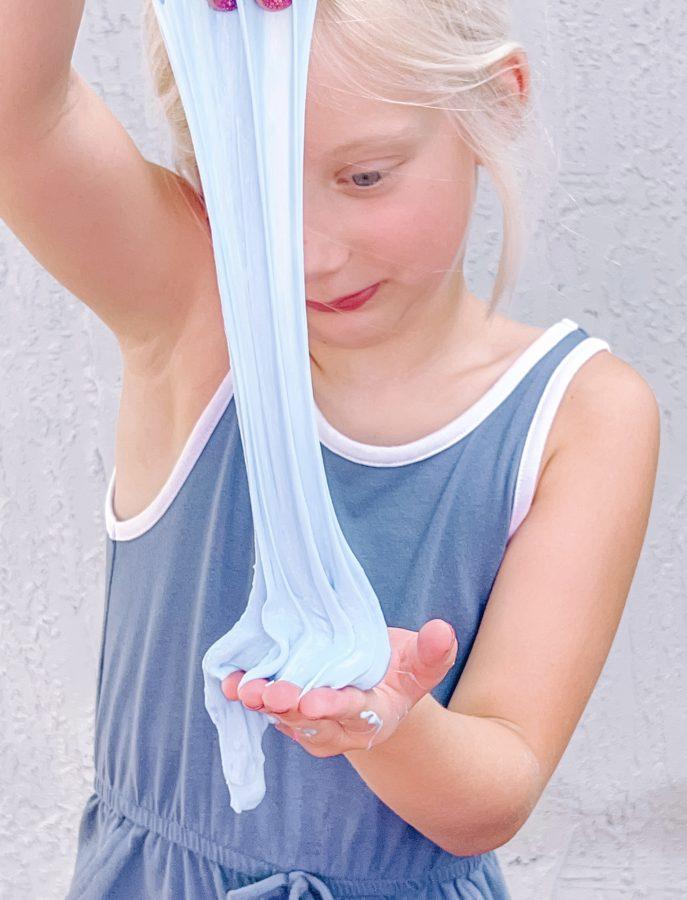
Tips From Daisy’s Mom
- Make it outside when possible. Slime is much better on the grass or driveway than on your carpets, rugs, or hard floors inside. Trust me.
- Purchase items from the Dollar Tree when you can to save money.
- The big jugs of glue end up being a better deal.
- Plastic table cloths that you can wipe down, disposable table cloths, or silicon mats help protect countertops and surfaces and make cleanup much easier.
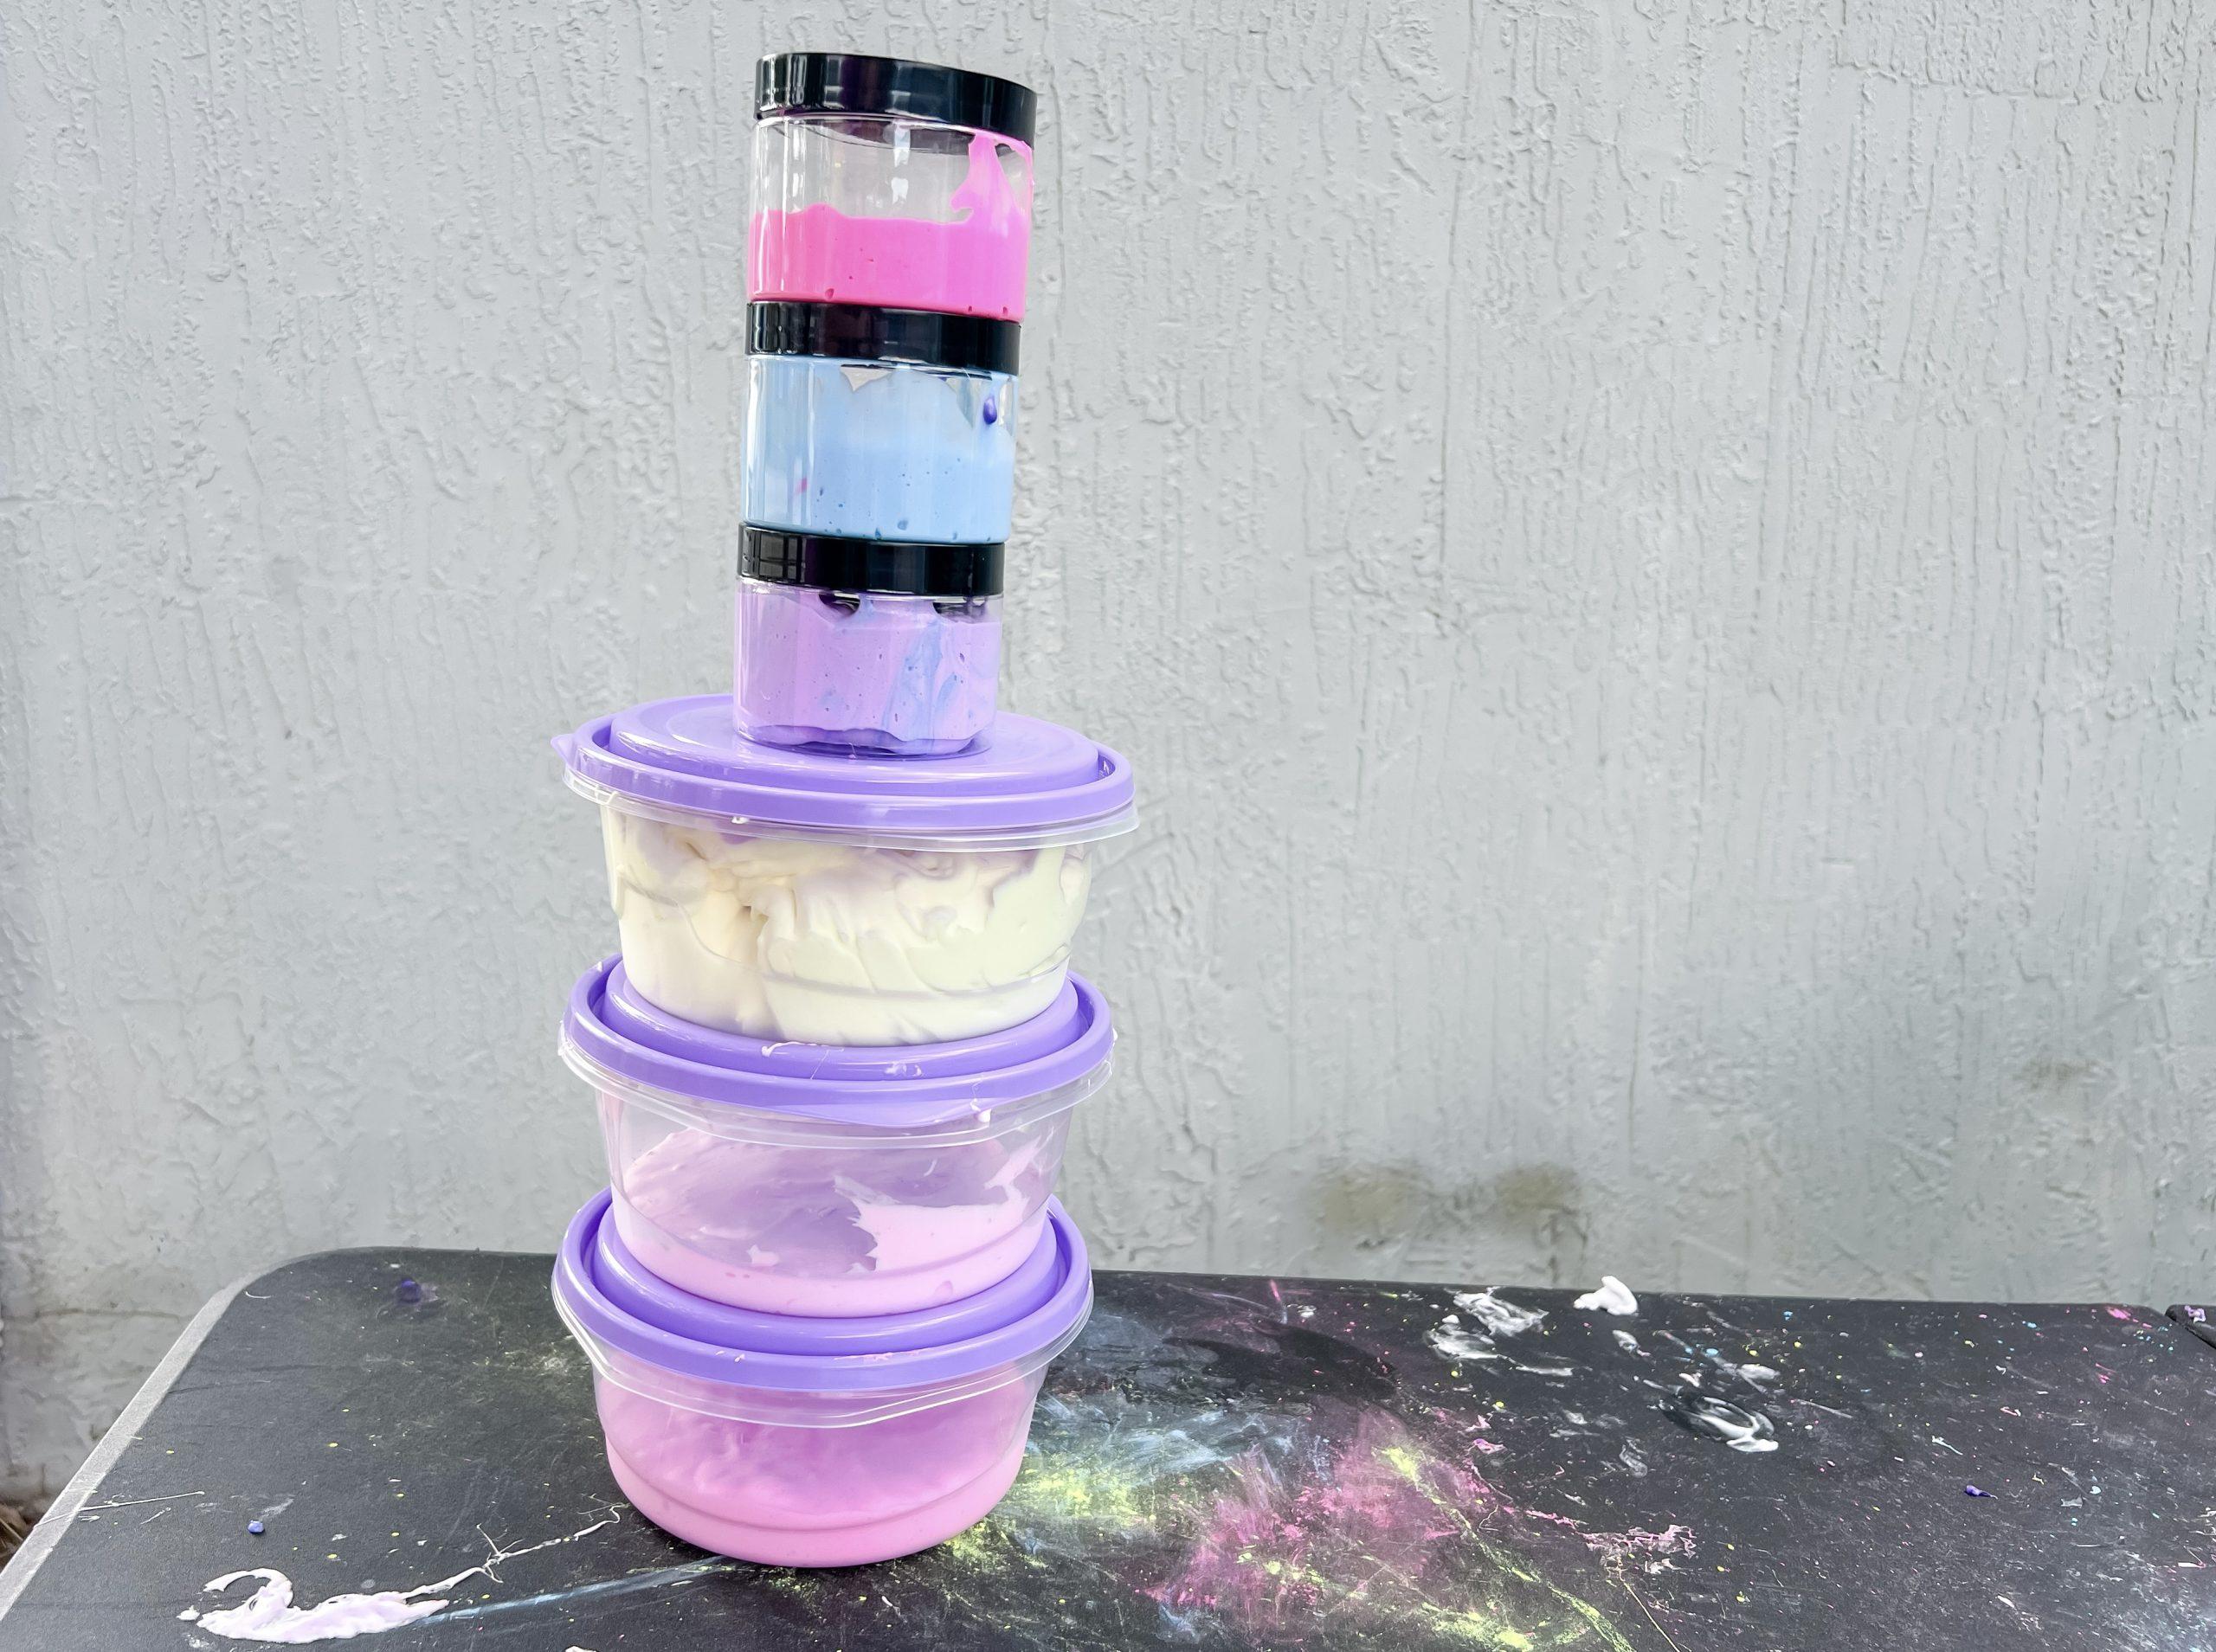
- Get your kids their own storage container and mixing bowls so they don’t ruin your good ones. We use large plastic mixing bowls with lids for making the slime and ordered this pack of clear plastic containers with lids.
- My biggest tip: Take a deep breath, forget about the future mess, remember what it’s like to be a kid, and let them have fun! Honestly, if you can get past that part and make slime with them, you may even surprise yourself and have fun with it, too!
